Windows 10, VirtualBox 5.2.0 w/ FreeBSD 12.0-CURRENT Guest
This post describes installation of a FreeBSD 12.0-CURRENT guest in VirtualBox 5.2.0 on Windows 10. The hardware is a HP Spectre x360 Convertible Touch 15″ laptop. Guests must be 64-bit and support bridged networking. Adapters used include:
- Intel Dual Band Wireless AC 8265
- Insignia NS-PU98505 USB 2.0 to Ethernet Adapter
Both attached to the same router on the same network, the Intel wirelessly and the Insignia via USB-to-Ethernet. Networking on the AC-8265 wireless only worked when attached as NAT. The Insignia worked as a bridged network.
The platform’s hardware virtualization was, oddly, disabled. Without the hardware virtualization, VirtualBox would not support 64-bit guests, only 32-bit guests. So, I enabled it.
Overview
This is an overview of the process. During my initial exercise, “Enable hardware virtualization” did not happen until it was discovered disabled. The primary scope of this post is to describe the overall tasks necessary to install FreeBSD as a guest and enable networking. It starts at creating a VM in VirtualBox. Also described will be challenges regarding networking the FreeBSD guest over a wireless bridge.
- Enable hardware virtualization if necessary
- Install VirtualBox
- USB extensions were also installed to facilitate mounting USB thumb drives
- Create new virtual
- Install FreeBSD 12.0-CURRENT disc1 ISO
- Setup wireless bridge
- Worked when attached as NAT
- Failed when attached as bridge
- Setup wired bridge
- Worked as bridge
- NAT not attempted
Creating the Virtual Machine
Open VirtualBox and on the main window click “New” on the menu bar and proceed thusly:

Typing “freebsd” in the name field automatically changes the others. Finally, click “Next”. In the following screens, set the memory, disk size, and other disk properties. The values here are mostly irrelevant, but for this exercise 4096MB RAM and 16GB disk were created accepting defaults for all other disk properties.
Install FreeBSD
Perform a normal start on the virtual machine and it will boot to the optical drive, the FreeBSD installation media like below. The interactive installation now starts. Proceed through the installation as you normally would and install the operating system.

And here is the install:

Setup & Test Wireless Bridge
These steps are completed on the Windows host. Open the “Network and Internet” settings panel and click “Change adapter settings”. This exercise included the following connections:
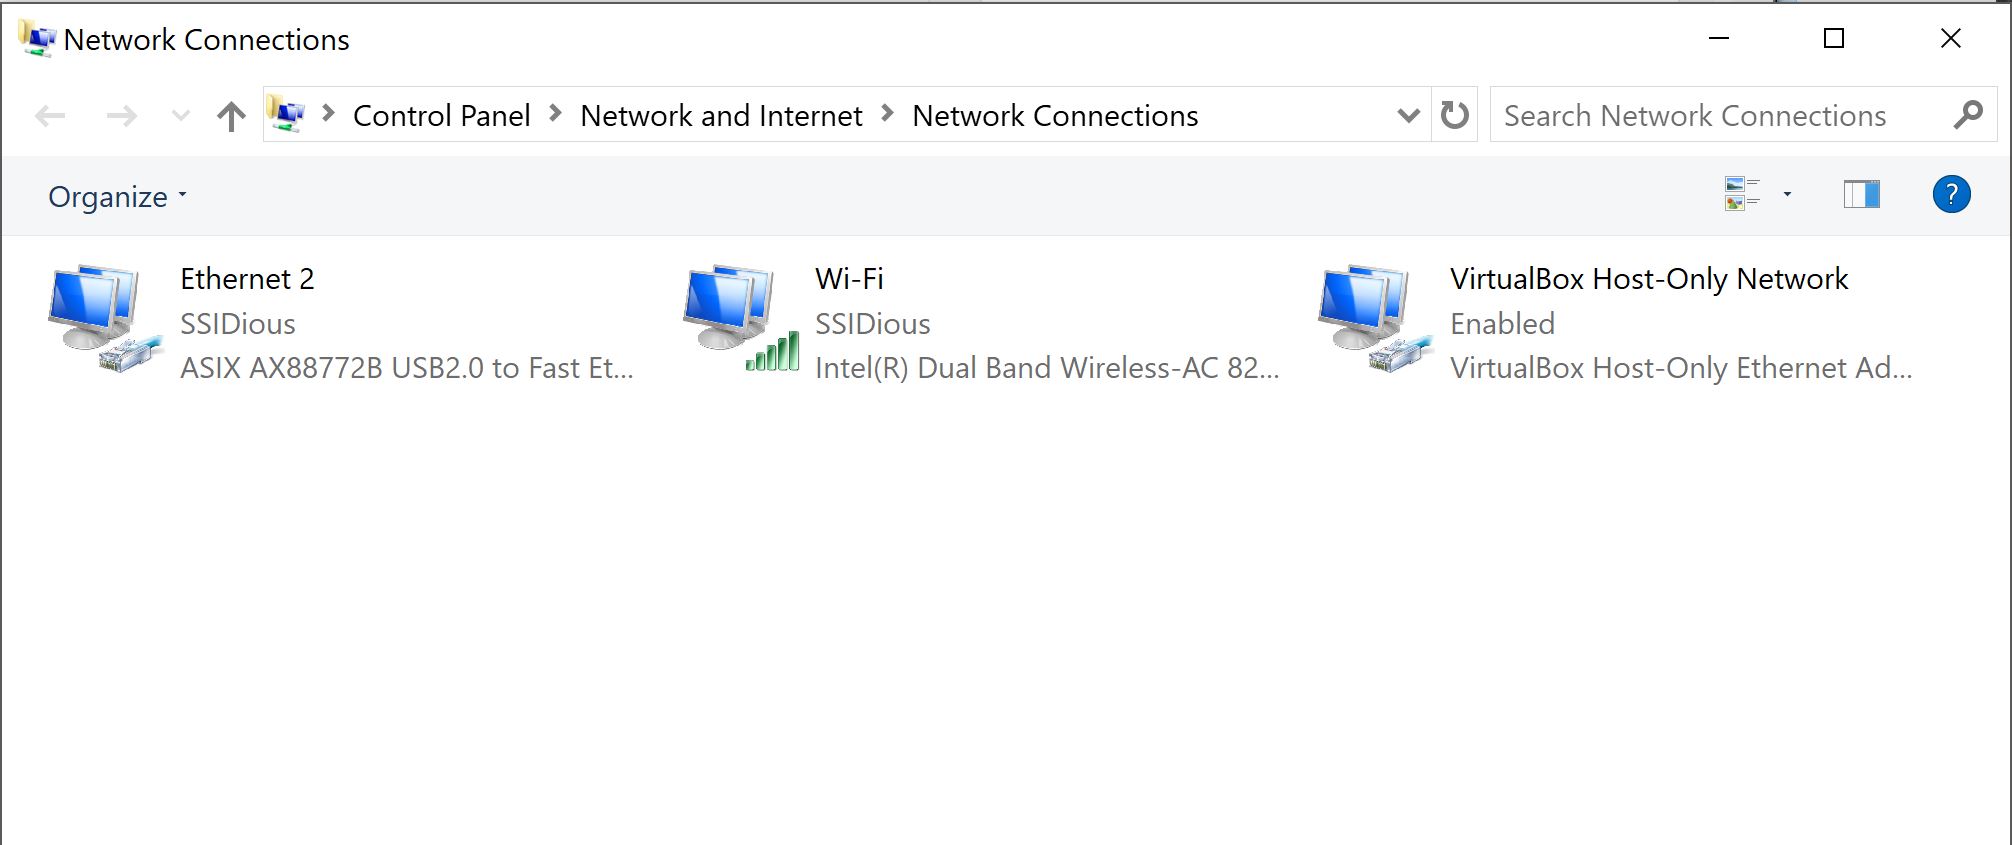
The Wi-Fi and VirtualBox Host-Only Networks are bridged by selecting both simultaneously, right clicking, and selecting “Bridge Connections”. A new connection showed up:

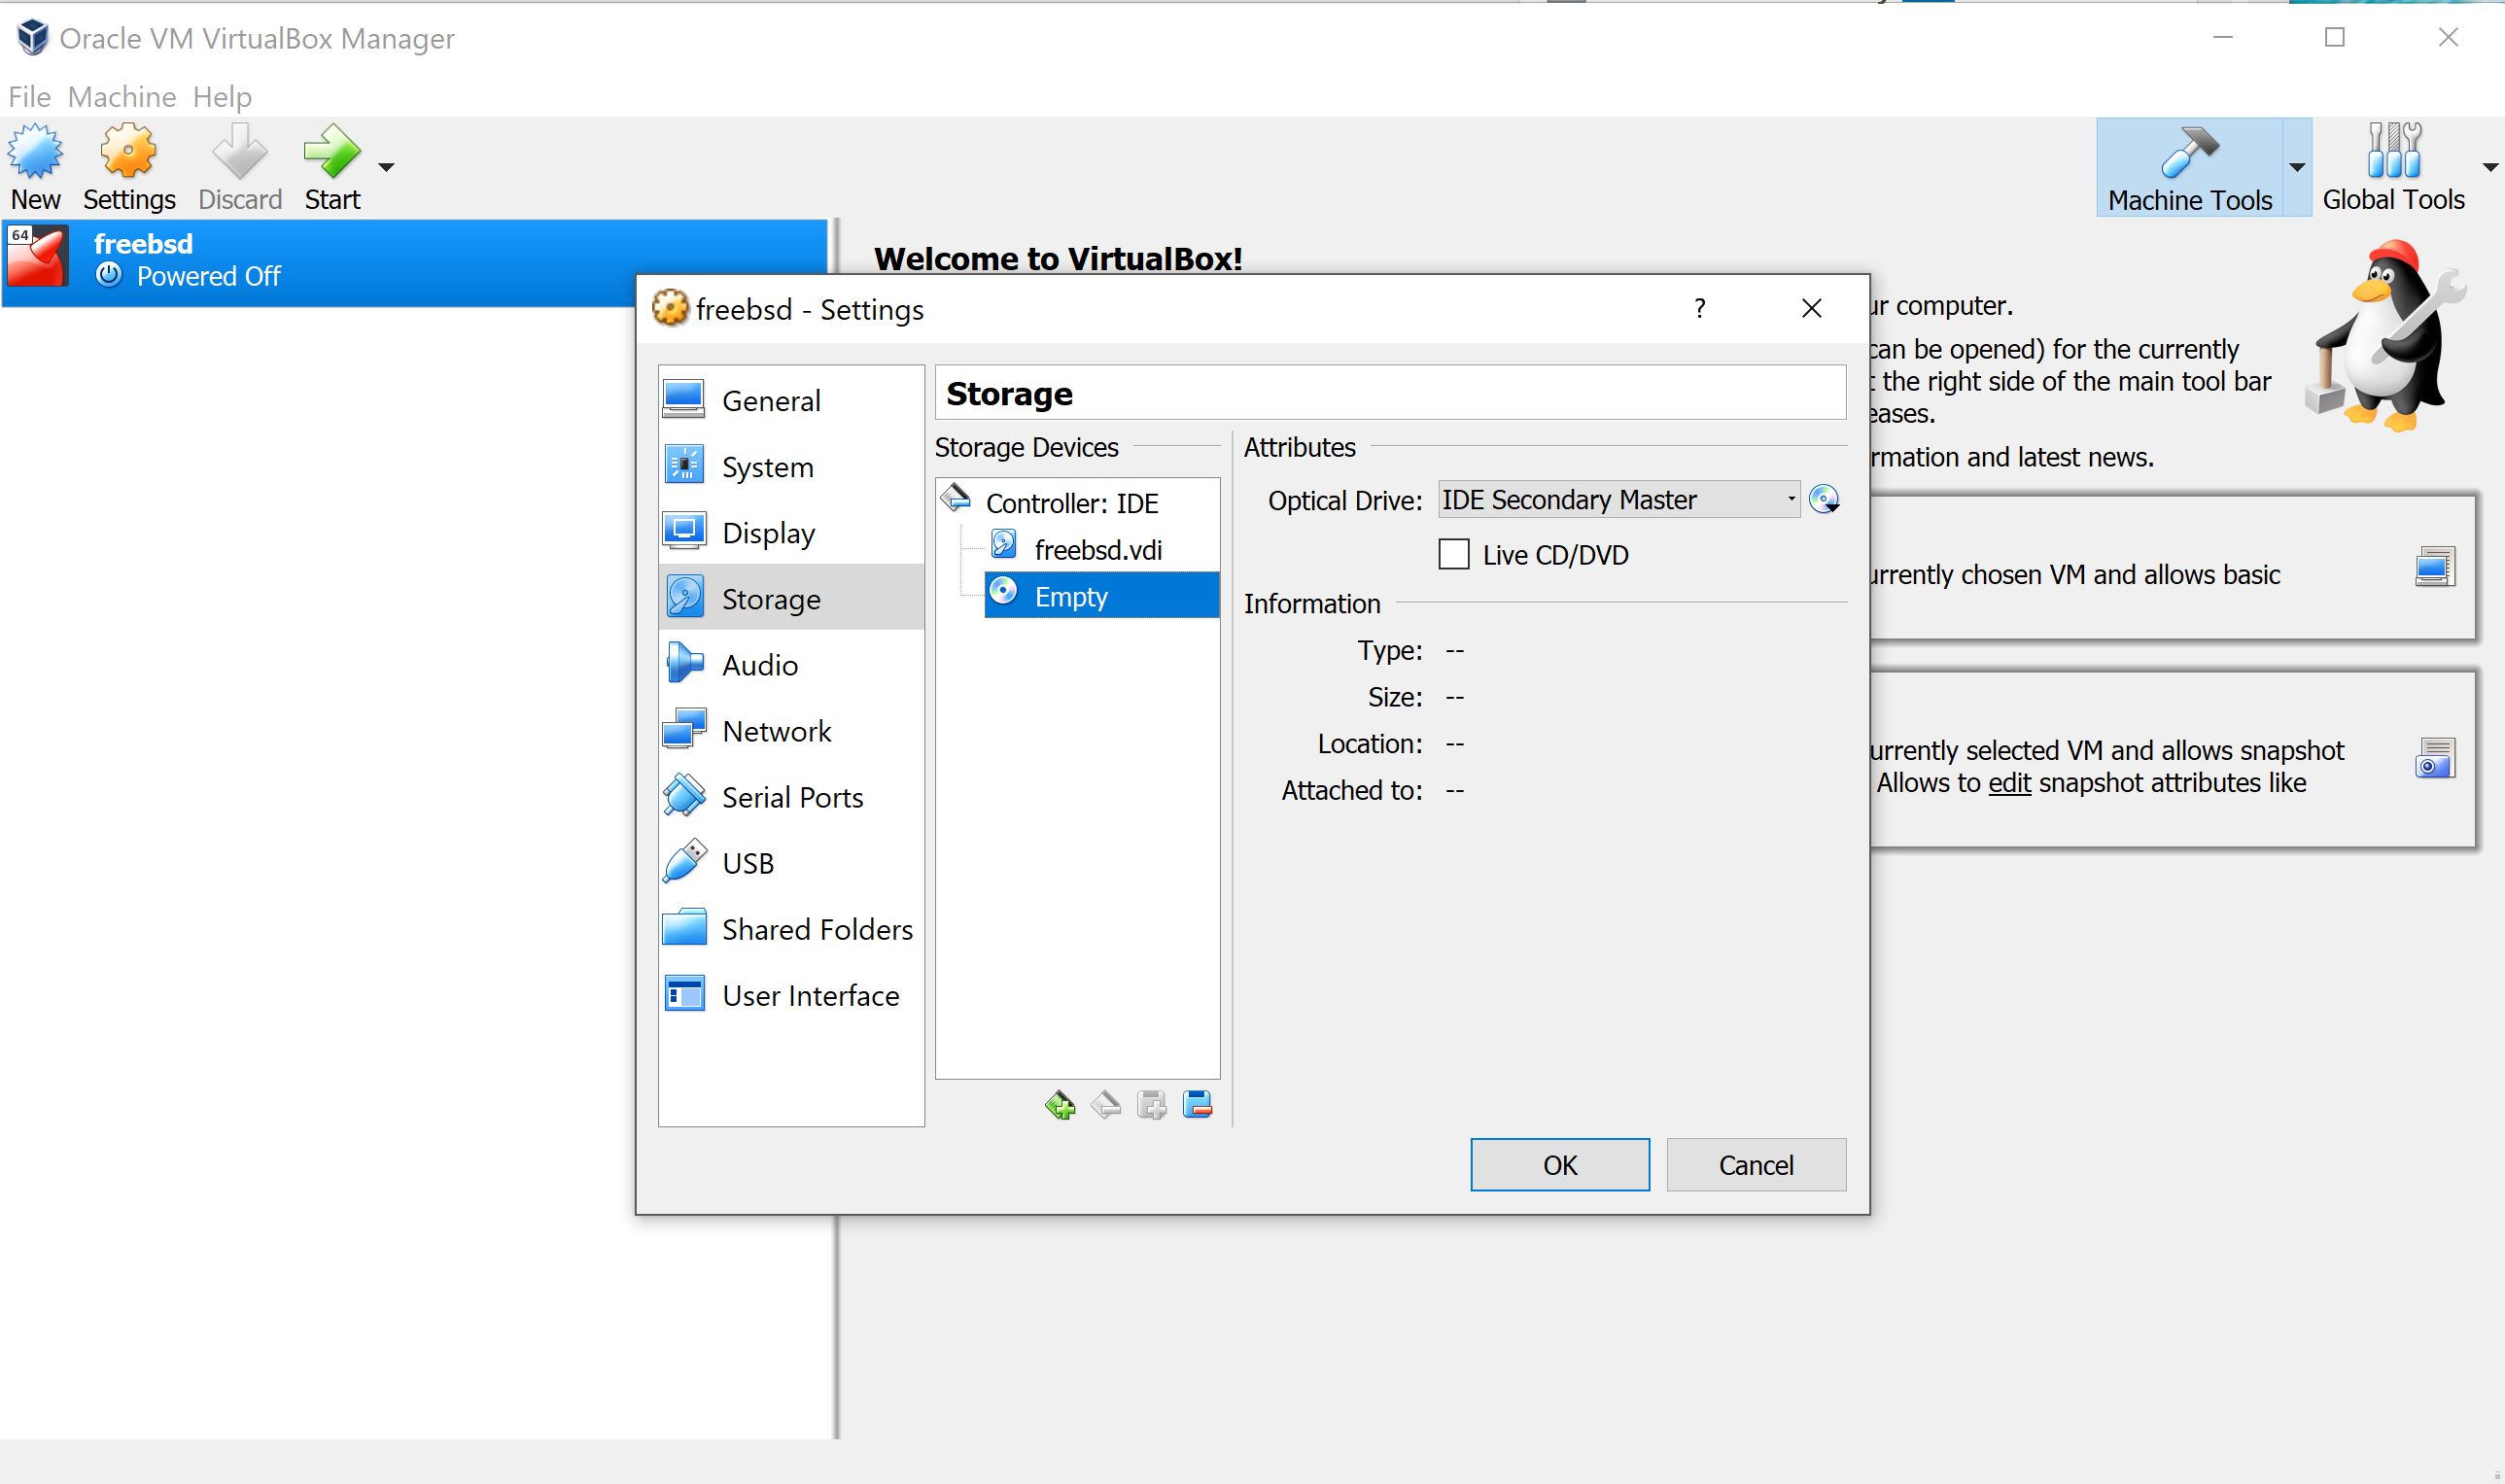
Configure the virtual machine’s network to attach as bridged network:

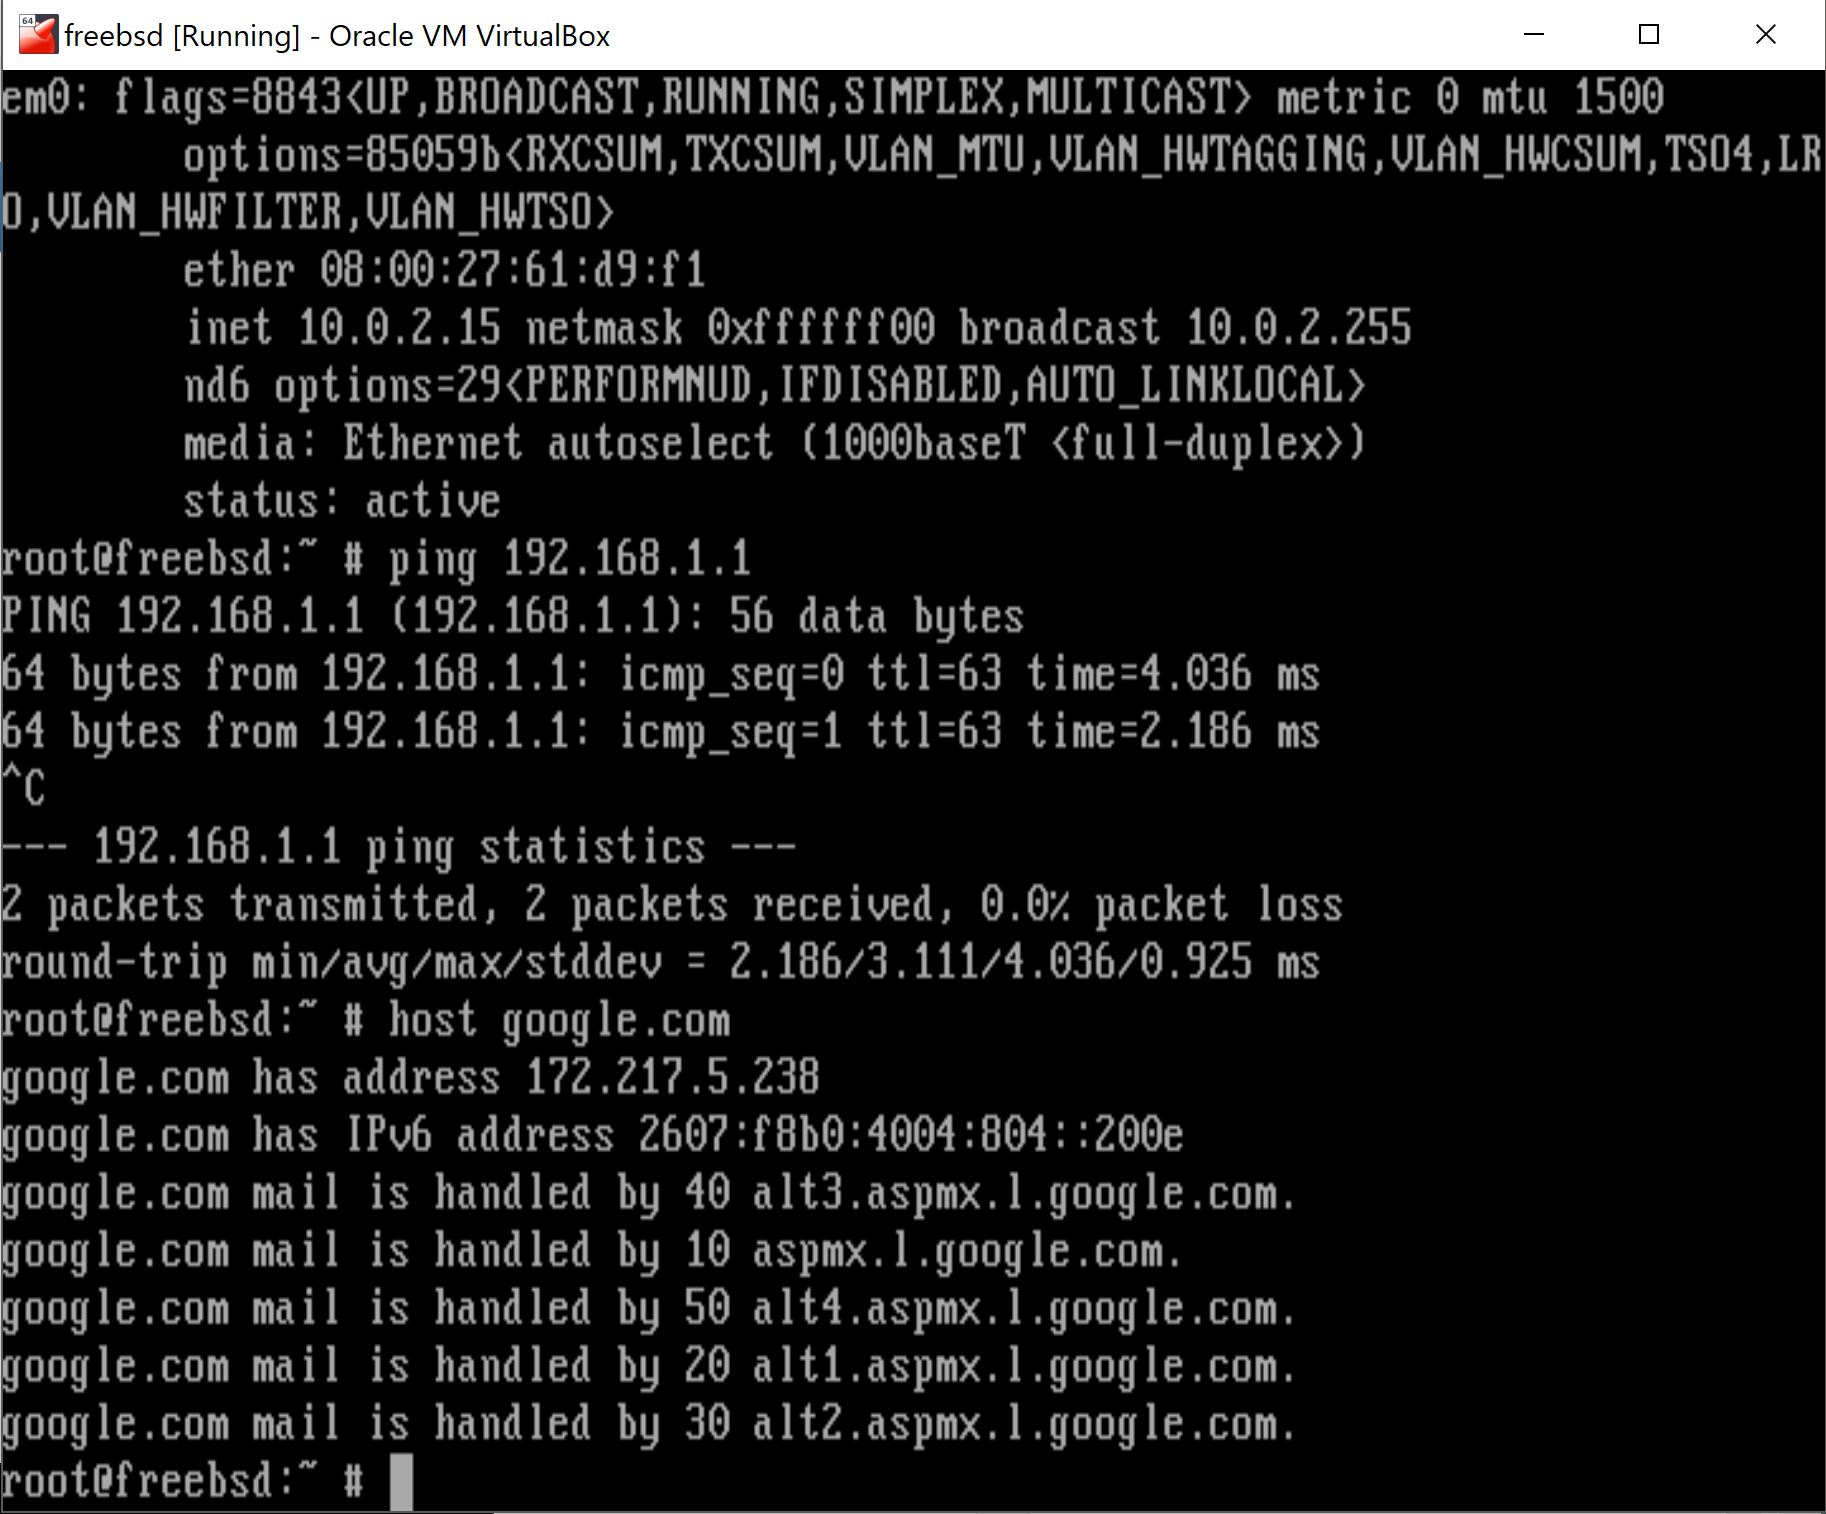
Observe the results below. Note em0 receives its IP address, but networking doesn’t seem to work as illustrated by the “Host is down” message when the defaultrouter is pinged. Additionally, host(1) fails to return the desired result…successful lookups.

Reconfiguring the virtual’s network to attach as NAT provides like the following:

Observe the results below. In direct contrast to those above. em0 is assigned an unknown IP address, but the defaulrouter responds to ping and lookups. Network is working at some level.
Setup & Test Wired Bridge
The wireless bridge is removed and a new bridge with the Insignia USB-to-Ethernet adapter is bridged with the VirtualBox Host-Only Network. Observe here:
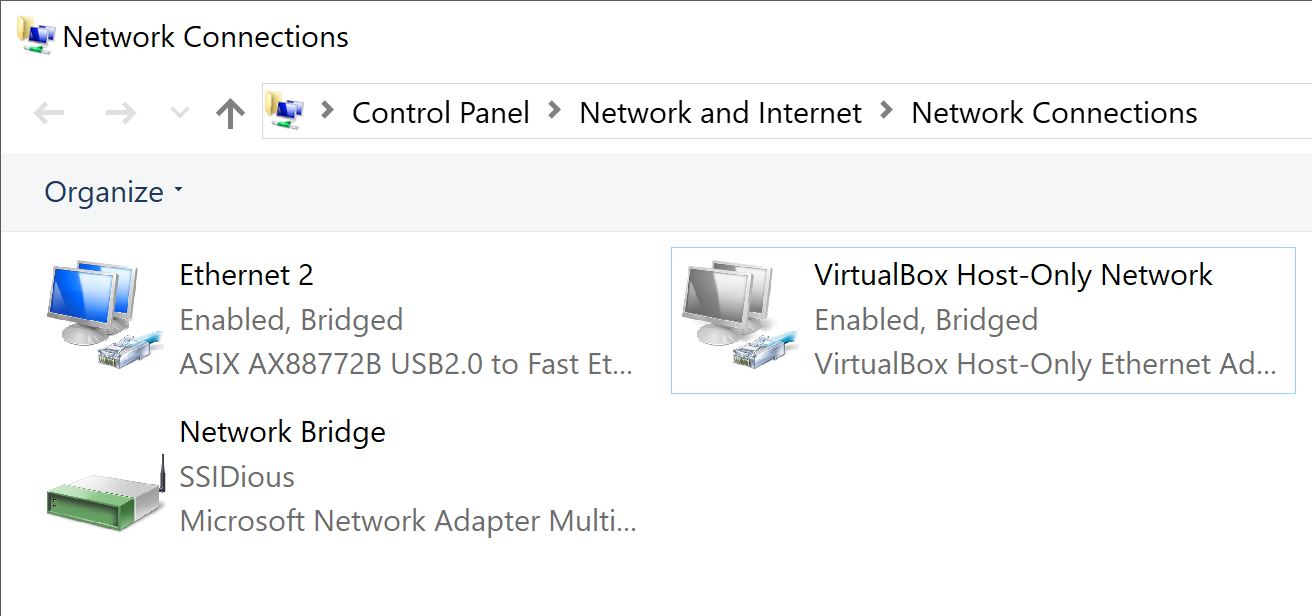
And the virtual is configured to use this bridge:
Observe the behavior below. em0 DHCP’d its IP address, was able to ping the defaultrouter, and performed a host lookup. Network via bridged network functioned as desired.

Conclusions
The reference URL below identifies at a high level the tasks that need to take place to enable guest networking in VirtualBox. It also states “Some wireless adapters don’t work”, which becomes the reason for not digging deeper into why the wireless adapters doesn’t work here. Instead, it becomes recommended to enable VirtualBox guest networking via a wired network bridge.
References
- https://stackoverflow.com/questions/31922055/bridged-networking-not-working-in-virtualbox-under-windows-10
Disclaimer
Data and information described on this blog are for informational purposes only. The author of this blog provides no warranty/guarantee, expressed or implied, that this data and information will function as described here. Readers are expected to exercise due diligence when researching, developing, and deploying techniques and methods for use within their environments.
Comments posted are the explicit opinions of the comment poster themselves and does not necessarily reflect the views and opinions of the author of this blog.
-
November 4, 2017 at 12:56 PMIn Other BSDs for 2017/11/04 – DragonFly BSD Digest
-
November 4, 2017 at 1:34 PMIn Other BSDs for 2017/11/04 – FreshBSD.com
